

and this is how I made it ....
First I got the Bo Bunny BELIEVE Album from Crafty Tart (and it was and still is on special!!) And I also bought my papers from Crafty Tart. They are Echo Park's 'Everybody Loves Christmas' range which I just LOVED! (also all on special!!)
So first thing I did was decide which papers I wanted to use, because the papers are all double sided it made it sooo much easier to use less and have more patterns! And the cool thing I discovered as I was making this album was the longest letter E was a perfect fit across a 12"x12" paper! Brilliant!
STEP #1
Trace your letter shapes. I traced the opposite side of the album onto the back of the paper I wanted, clear as mud?? I do it this way because I'm lazy and don't like erasing pencil lines!!

Don't forget to trace your little holes!!
STEP #2
Then you cut out your shapes.
Pretty easy so far right!

STEP #3
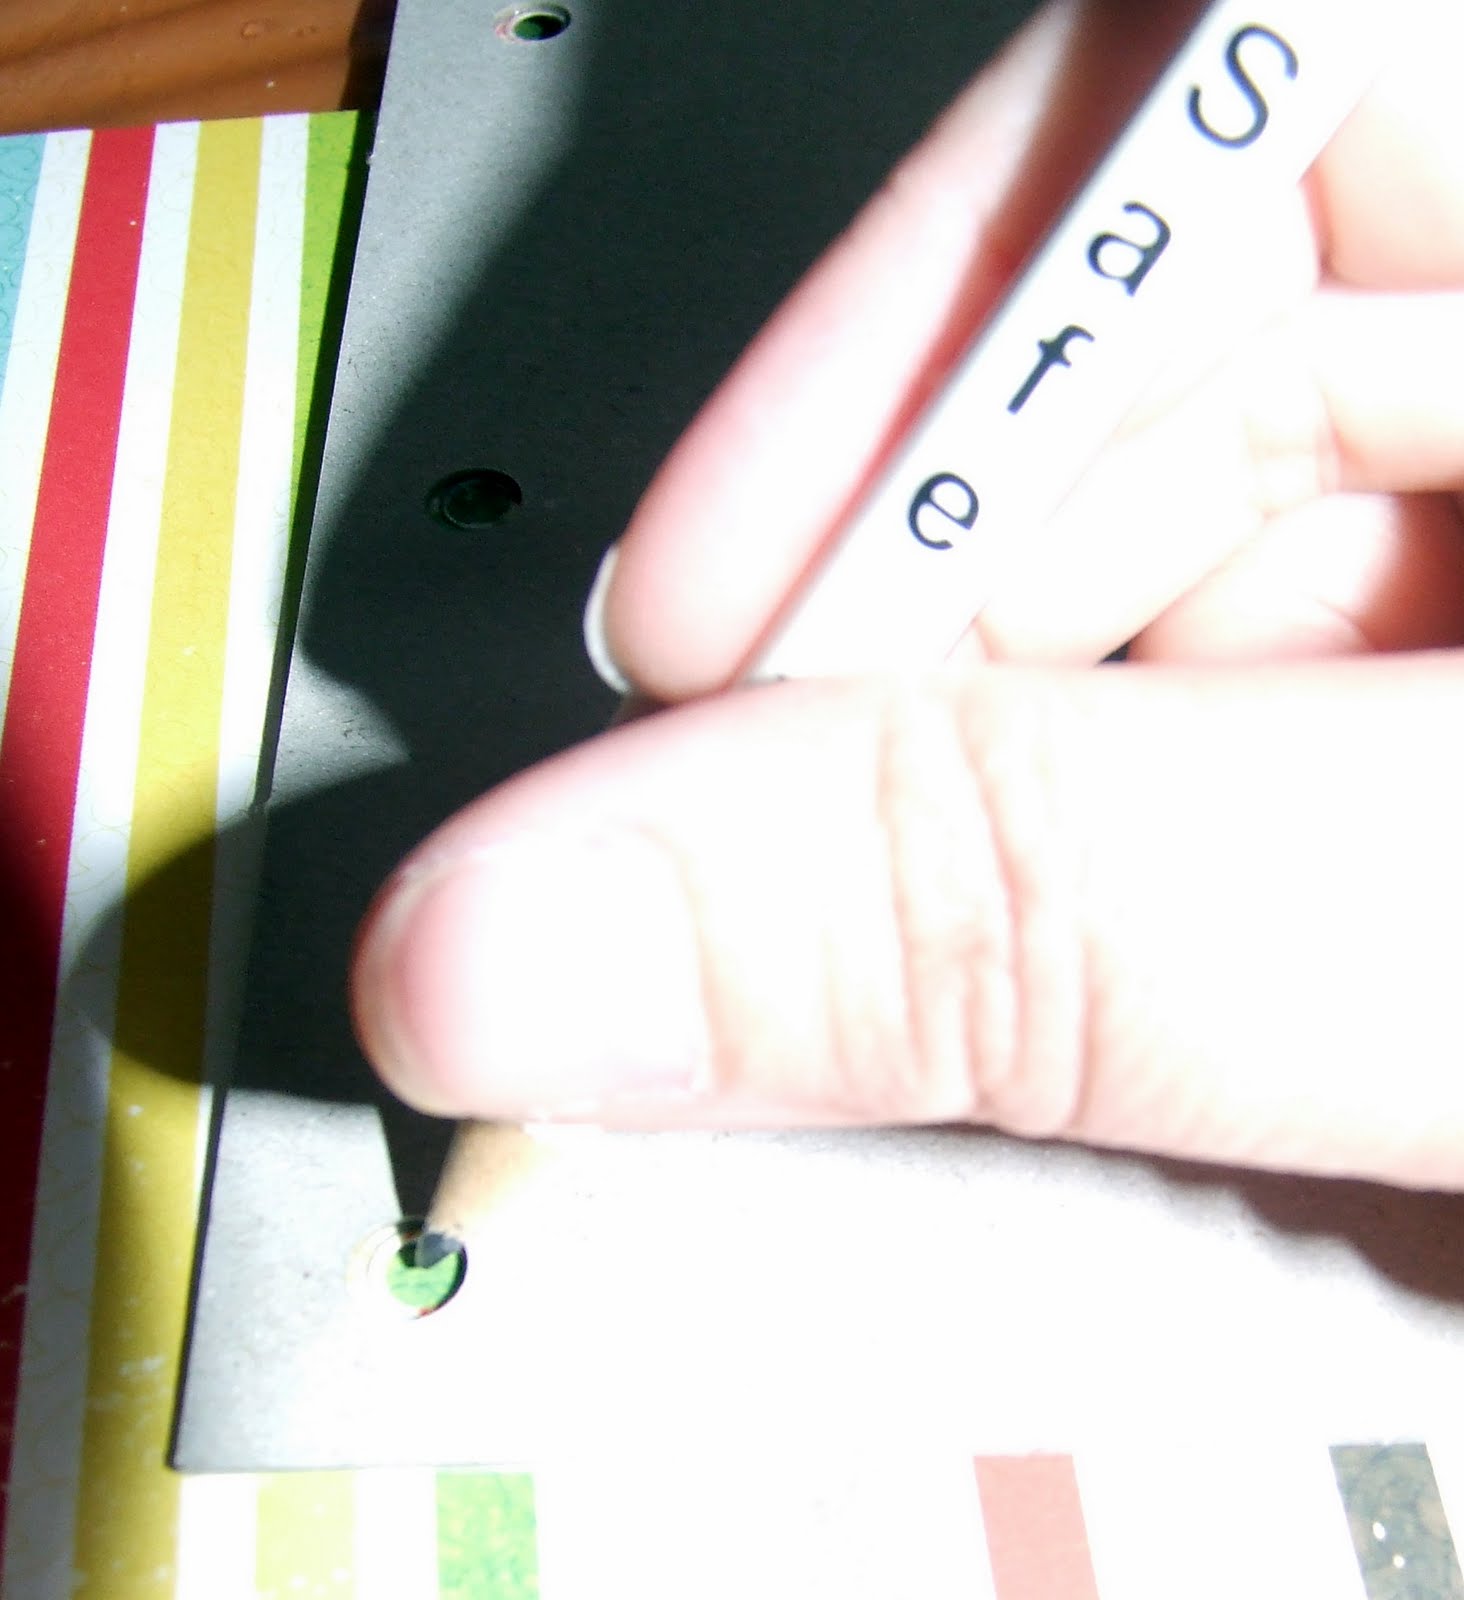
Cut out your holes, I used my Crop-a-Dile, but you can use a hole punch or a craft knife or a fork even!!

STEP #4
Glue your paper to the chipboard. I glued the back of the paper with Modge Podge and then carefully flattened it out on the chipboard, using a ice block stick I flattened all the bubbles and creases and made it all flat and nice!

STEP #5
Trim the excess paper. There always seems to be some! I used my Fiskars Fingertip Craft knife

STEP #6
Sand all the edges. This makes the edges smooth and also takes off any more excess paper that the knife couldn't get. I used some emery boards for this, but you can get lots of different things to do this, sandpaper, file ... there is a really cool Tim Holtz Sanding Block too!

STEP #7
Ink all your edges. I used a cotton bud for all the fiddly in between bits the ink pad wouldn't reach.

Step #8
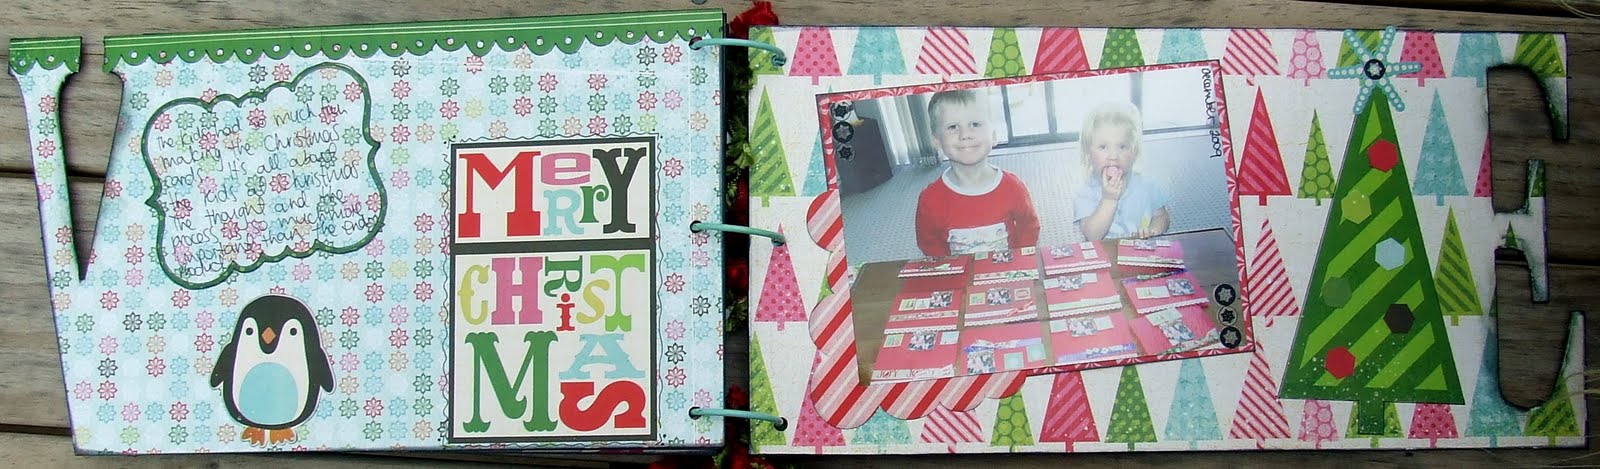
Embellish!!! This is the fun bit!! I used Stickers and papers from the same Echo Park Range, as well as a few Kaiser Christmas Rubons, one of my new Heidi Swapp word Stamps and the odd ribbon, button and other random embellishment!
Put it all together with Binding Rings and tie some fibres/ribbon onto the rings and you are done!!


.JPG)


5 comments:
very cool....well done on finishing it!!!! i love it
your album is GORGEOUS!!!
I really liked how this turned out. What a lovely book of Christmas memories (and eye candy!)
That is Fabulous!
Great job, Tracy! You did a fantastic job. You seemed to pick just the right paper for everything. Thank you so much for showing us your step-by-step and each page of this beautiful book!
Post a Comment